 I cut out Section #3 with no issues. They get quicker as you go, but I've noticed that I've gotten a little sloppy. The cut outs aren't critical, but if you move the saw too fast you get an abundance of splintering. I'll try to slow down.
Here is Section #4 with the radii trimmed and ready to work on the cut outs. The pile of odd shaped cut outs on the floor worries me as I don't know what I'm going to do with them. I hate to waste wood.
 Here are all four sections in the round. I stood in the pit and I have PLENTY of room. That makes me feel good as I was a bit worried about it. Still a little worried about getting in and out of the hole. The layout is smaller than it seems on the drawing.
 Using a 1" x 3" plywood board cut to 29 1/2" I installed the first side plate. DO NOT USE PLYWOOD. This is a job for a real board. I had a lot of problems with the construction because of the plys splitting.
 I glued and screwed the board onto the section frame with 1 1/4" drywall screws, the holes pre-drilled and countersunk.
I decided to make a tool list for the blog. Here are a few items I'm using. You will need plenty of 6" C-clamps!

Section side plate #2 is now in place. These boards are heavy and the frame must be handled with care to keep from splinting the wood.

Using the table saw I ripped one 4' x 4' panel down to 3" strips. My saw is an older Delta saw and it is underpowered and very cheap. Waffle construction requires a lot of precision and I really need to use another saw. If I can't make this module work I may go over to Bob's and see if he'll help me with the cutting. I'm trying not to get any help since this is an A/P project layout, but if I don't have the saw or the money/space for a better one, then I'll have to get some assistance. Its not that I don't know how to cut wood!

I'm big on making gadgets to help me with my work. This little spacer is one luan board thickness (3/16") with a stop on the back. I'll use this for positioning the slats as I install them so they aren't too close to the edge.
 Here you can see the gauge in use.
 I cut three 29 1/2" slats and began to install them. Using ample glue each was place along the ray line and reinforced with small square blocks. I checked the 90 degree angle with a speed square.
 The blocks were just small scraps, but normally I use corner round for this. It has the advantage of being smaller and curved so that it adds less weight.
 My saw's inaccuracy shows in that I don't get 100% contact all along the slat. This is not good. I'm going to have to use more glue.
 Here are all the slats in place. The wavey-ness caused by the saw shows on the tops of the board. I'll keep working with this one and see how it goes, but I'll probably re-build it.
 LESSON: IF IT IS NOT WORKING - THROW IT AWAY AND START OVER. IT IS BETTER TO DO THIS THAN TO PUT UP WITH SOMETHING YOU KNOW WILL DRIVE YOU CRAZY OVER THE LONG HAUL.
 Next I started installing the smaller cross slats. The CAD dimensions didn't come out exactly as planned, so each is having to be cut to order. Not sure how that happened.
 Here is Section #1 with all the interior slats. The glue is still wet and it is a bit flimsy.
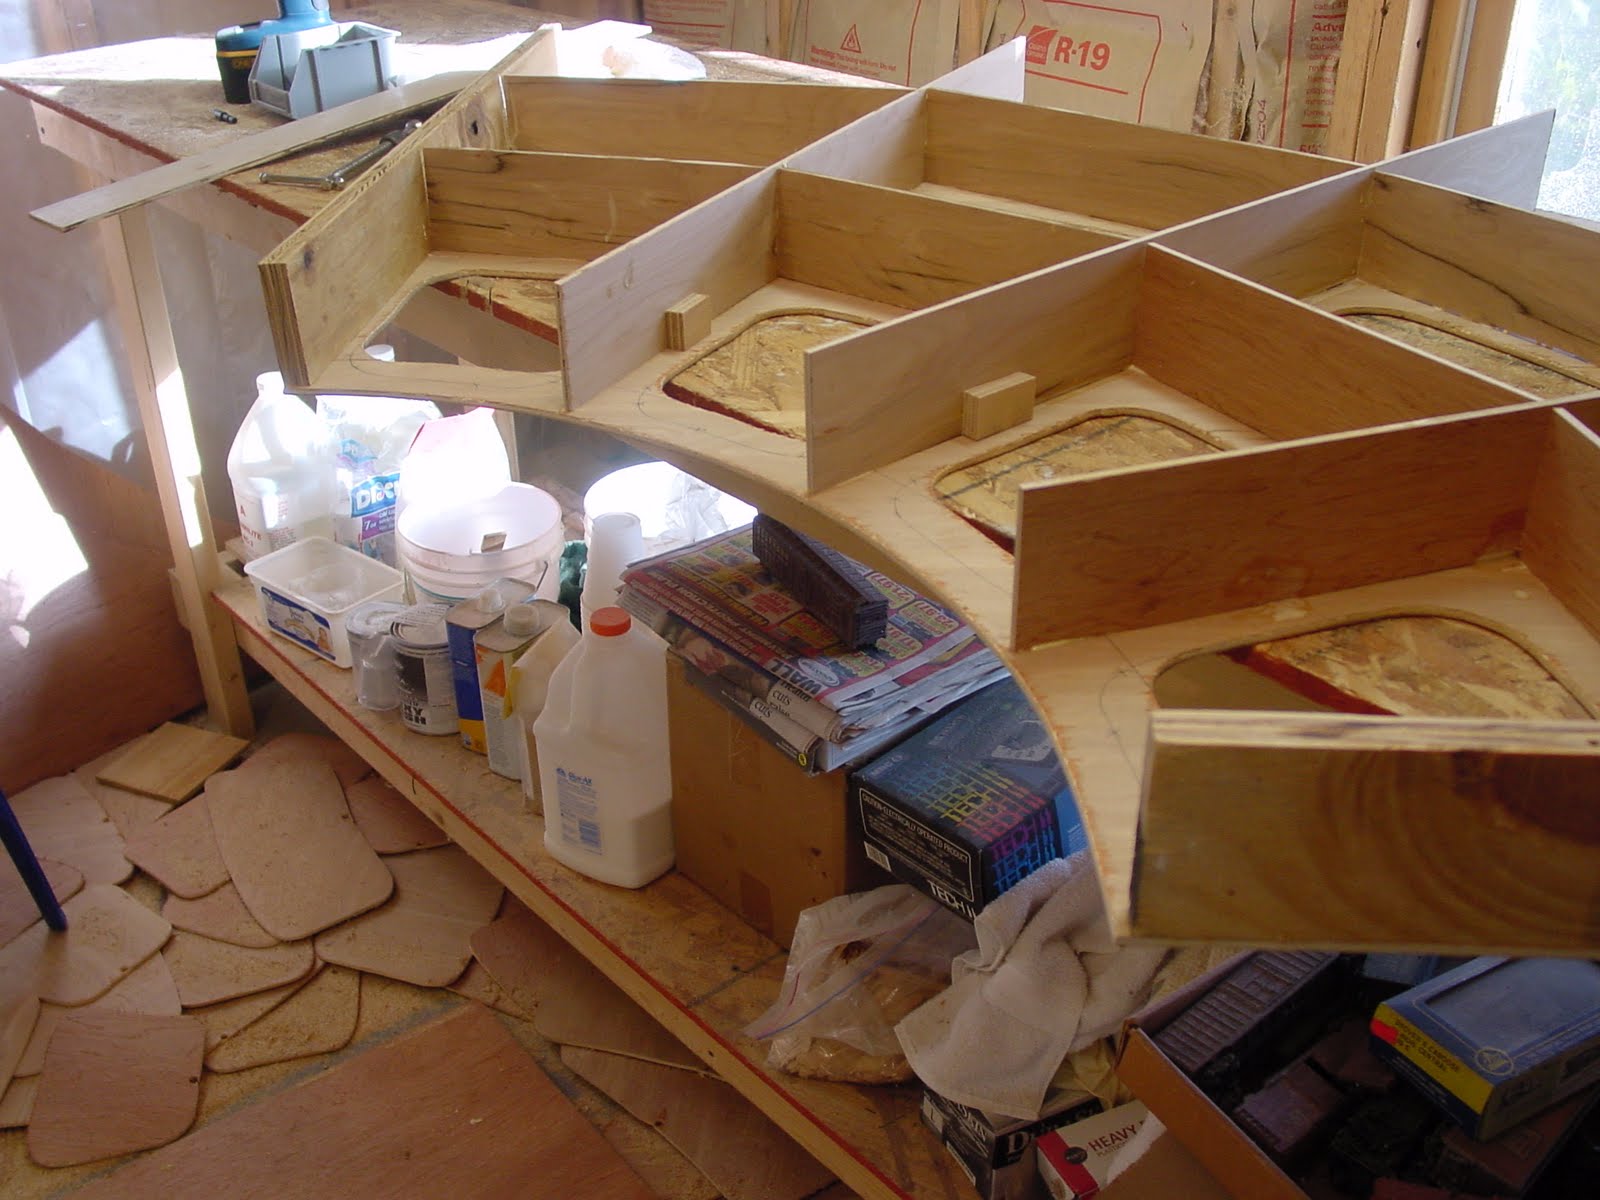 A close up of the inside radius.
 I cut a long 3" board out of an 8' sheet of luan. This will be the outer radius slat. The board is very flexible. I glued, countersunk and screwed one side in with three 1 1/4" drywall screws.
 Then I applied glue to the base all the way around the radius and on each of the slats. Using C-clamps I clamped the board down tight and glued/countersunk/screwed the other side to the board. This went very easy and made a beatiful curve! Looking great!CRAP! I found out the hard way that luan will not easily curve to a 1.5' radius. I found this out by snapping the board in half and taking two splinters to my chin. BANG!
 We'll stop here tonight until I can find a way to make the inner radius board. Ideas are welcome!


You may need a new saw blade, one suited to cutting this material. No harm in checking the saw table set up for squareness.
ReplyDeleteThis blade was brand new. I think it is the fence that is giving me trouble. The saw is made of very light aluminum and has no weight for stability, which is another issue. Think I'll have a buddy of mine rip them on his 1,000 lb precision saw. Its great to have model train friends!
ReplyDelete